Do at your own risk! I will not be held accountable for anything that could potentially go wrong.
Tools:
Phillips head screwdriver
Precision flathead screwdriver (eyeglass screwdriver)
Flathead screwdriver
Dremel
Parts needed:
1-Acura TSX/TL shift knob (08U92-TL2-210 SELECT KNOB - AT)
1-Acura TSX/TL shift boot (54300-TL0-G81ZA BOOT SET, SELECT)
1-Acura TSX/TL knob ring (aka plastic piece around the knob) (54133-TL0-G82ZA RING, PUSH KNOB)
1 or 2-5x8 screws
1 or 2-Rubber washer (must fit 5x8 screws)
Time: ~40-45 min (if you are not afraid of taking things apart and dremeling, when I did it the first time I was scared and then now I can do it quickly)
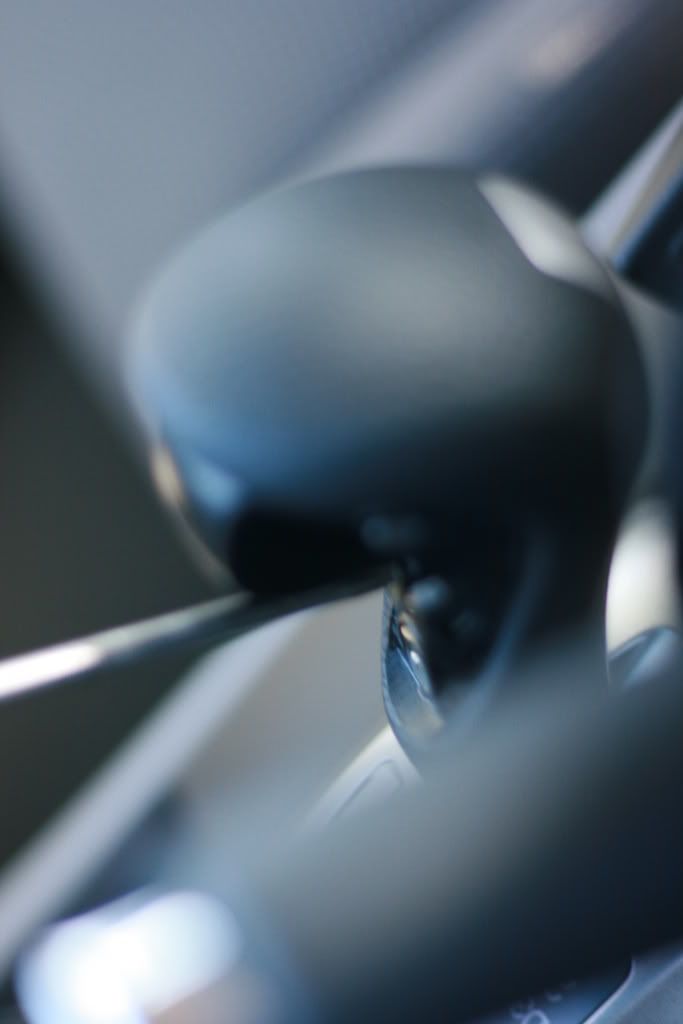
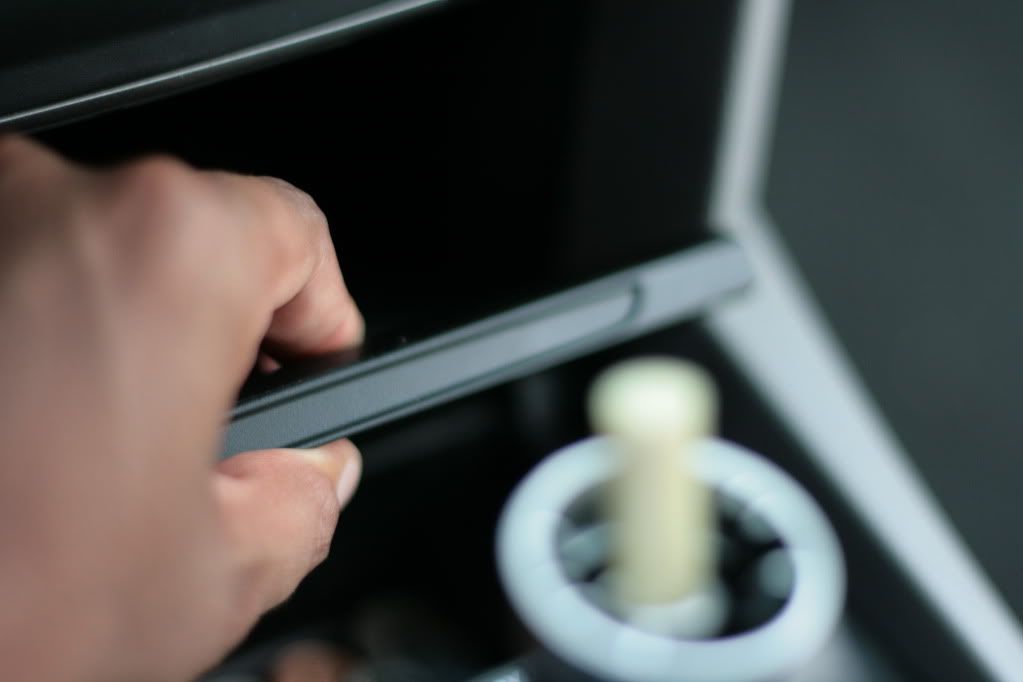
1. First remove the stock shift knob. Start the car, have the e-brake engaged then move shift knob to D2. This provides better room to remove the shift knob. Start by prying off the plastic screw cover on the front of the shift knob with the Precision flathead screwdriver.
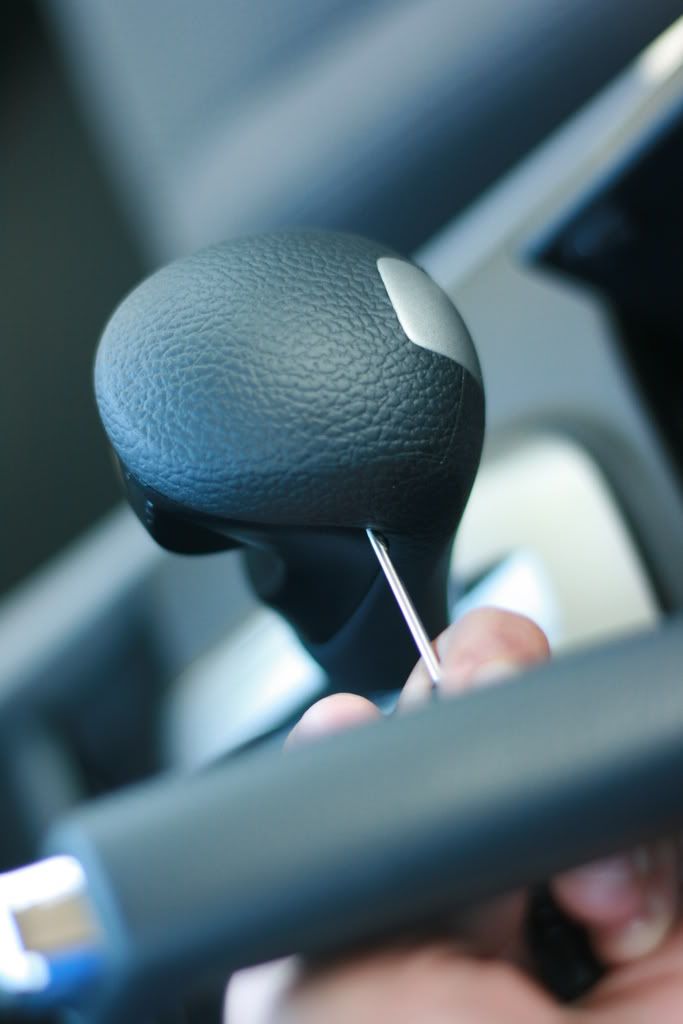
Then remove the 2-5x8 screws with the Phillips head screwdriver and KEEP THEM SAFELY, DO NOT LOSE. I make that known because I lost one of mine, they are very easy to lose. Then slide out the shift knob.
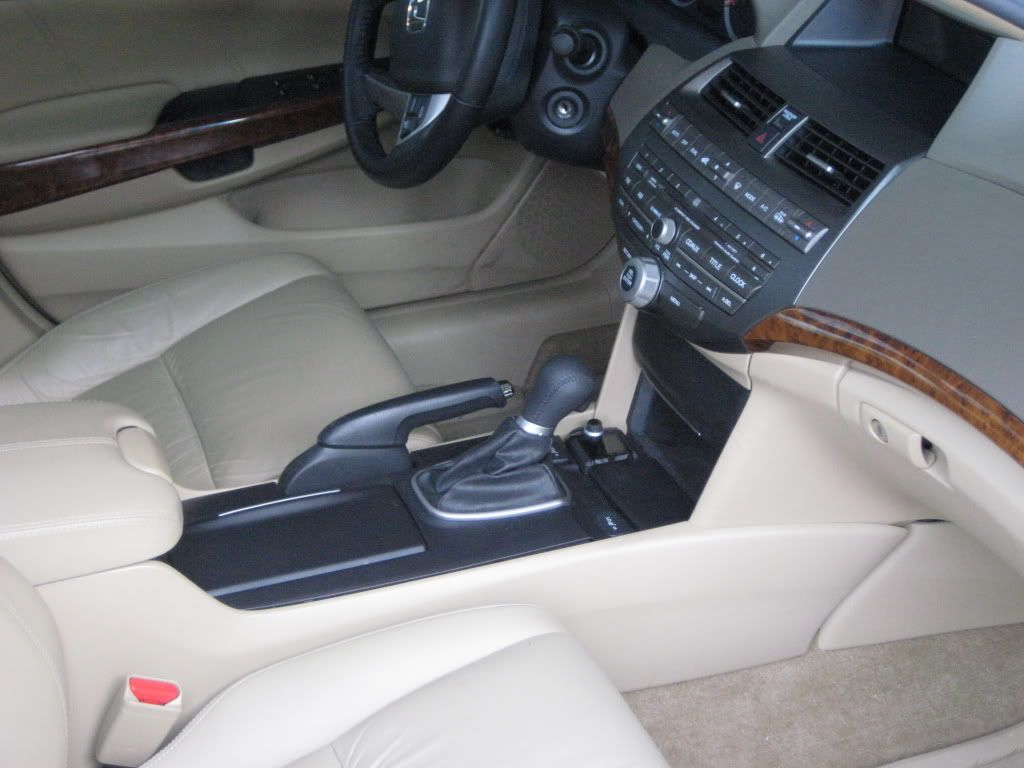
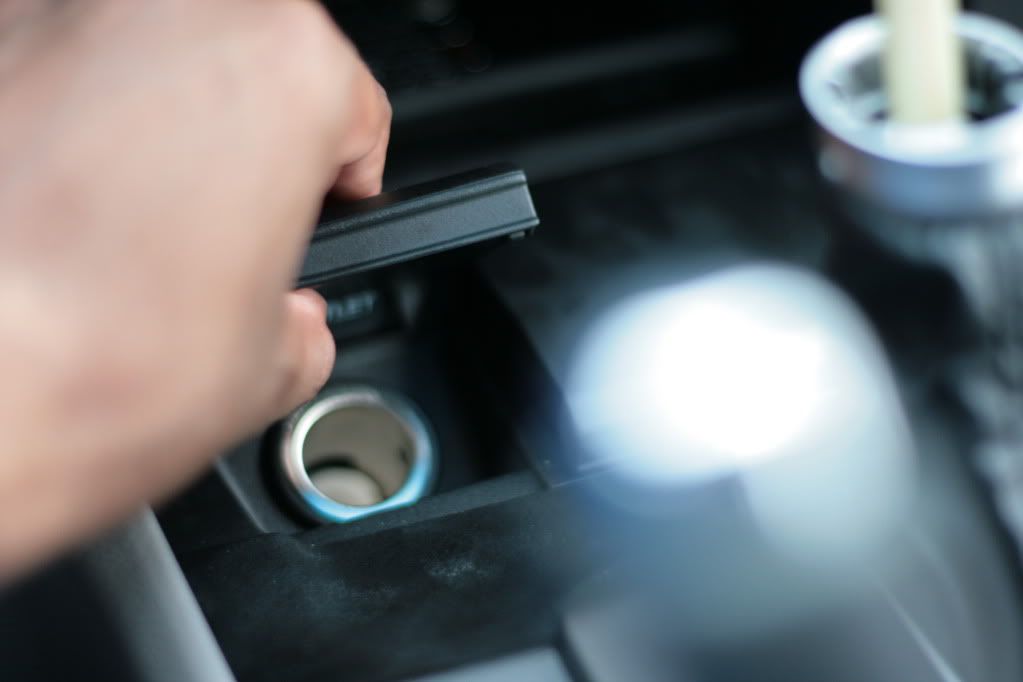
2. Next, remove the center console. Open the power socket on the center console and pull firmly until it releases the clips, then open the 'NOT AN ASHTRAY' and pull firmly until it releases the clips.
Open the lid of the center compartment and with a flathead screwdriver, pry up the two corners of the center console to release the clips.
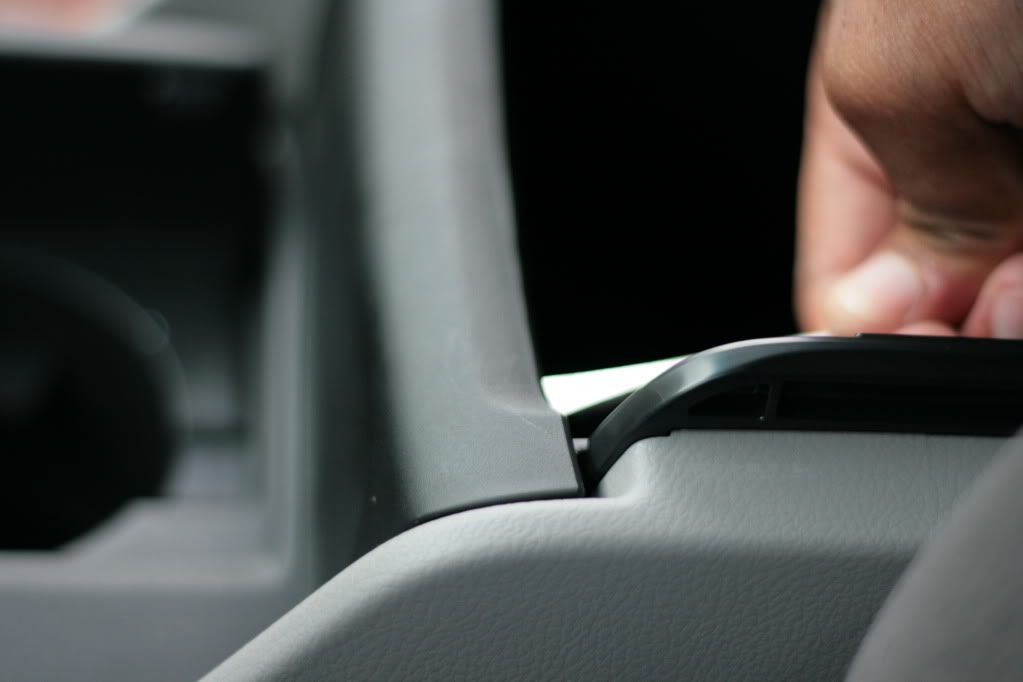

Now pull up on the power socket cover to release the other clips around it and disconnect the power socket harness before proceeding. Once the harness is disconnected, continue to pull up on the center console to release the other clips, MAKE SURE YOU DO NOT LOSE ANY CLIPS. Don't worry about breaking anything, it is pretty sturdy.
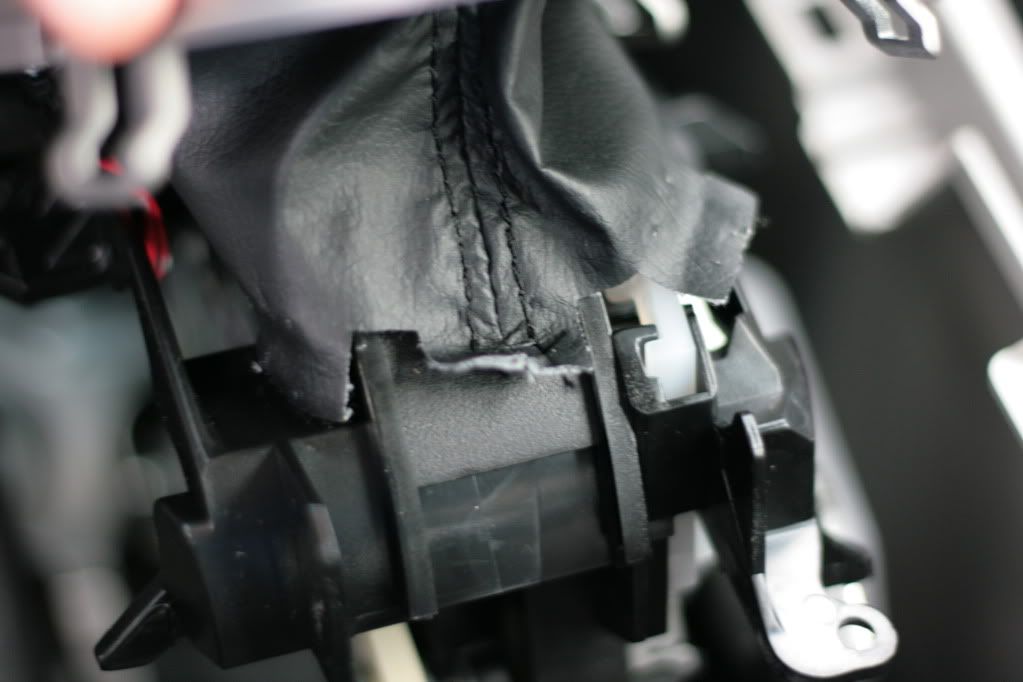
3. Remove the plastic trim around the shifter by pulling the plastic corner pieces from around the hooks and tuck the shift boot (the shift boot has a plastic box at the bottom of it when you receive it, just pry off the staples carefully) underneath, make sure it doesn't interfere with anything. The plastic trim does not require complete removal, and is usually easier to install without complete removal from my experience meaning do not remove the shift light because it is a pain to put back.

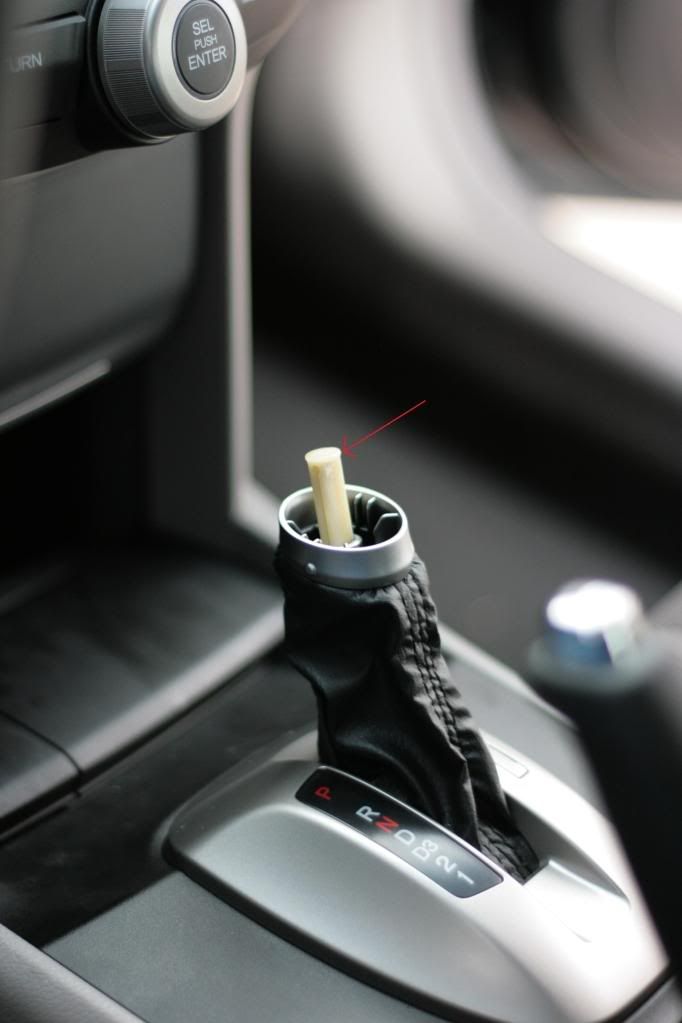
Once the boot is set properly, do the reverse order of how you removed everything until before reinstalling the shift knob and it should look like this (please ignore the red arrow):
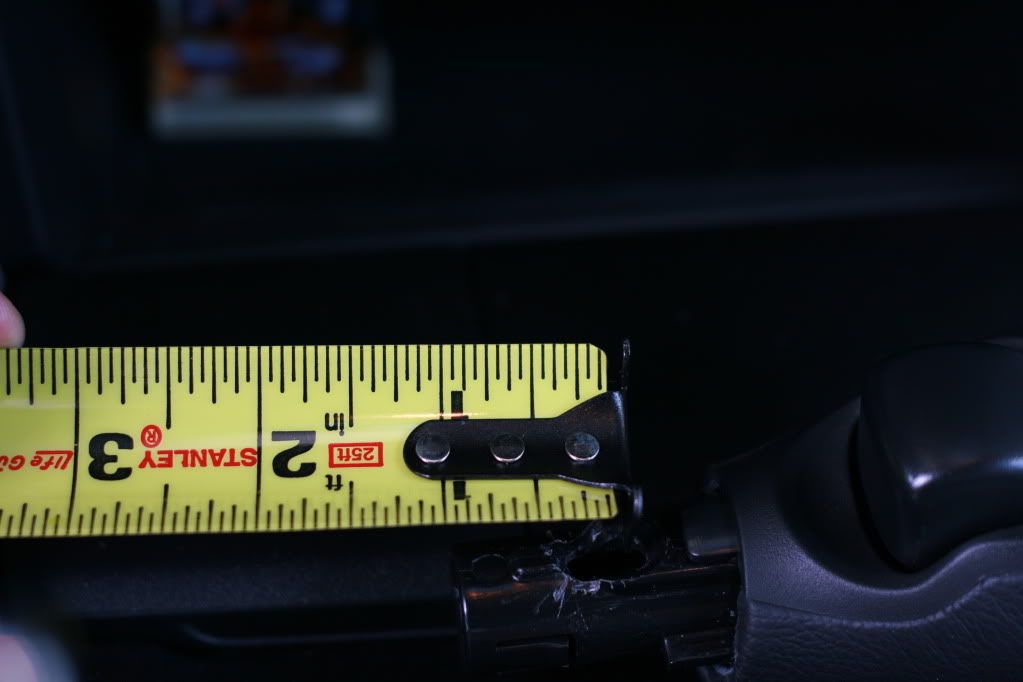
4. Modify and install the shift knob. To modify the shift knob, use a dremel and dremel the bottom hole out about 3/8 in from the center of the original hole (You can do this on the top hole if so desired but I decided against it as the one screw does the job). Make the area around the new hole so that the screw sits level with the rest of the plastic around it.
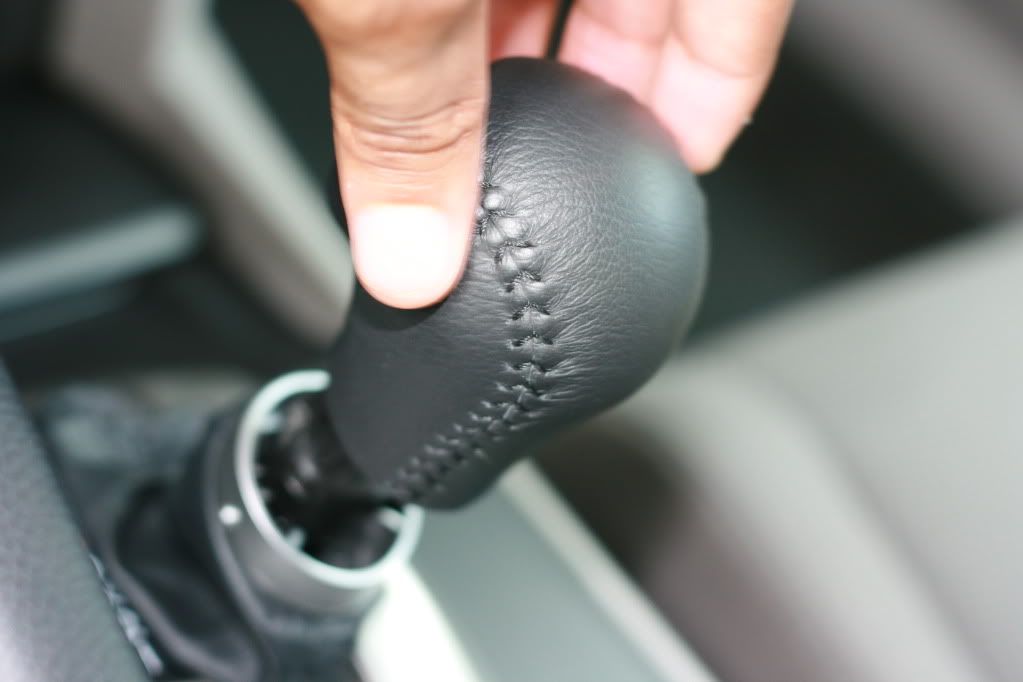
Once that is modified you are now ready to install the shift knob by using 1 or 2 5x8 screws with 1 or 2 rubber washers (Use two if you decide on using the top hole). Slide the new shift knob on, and tighten the screw.
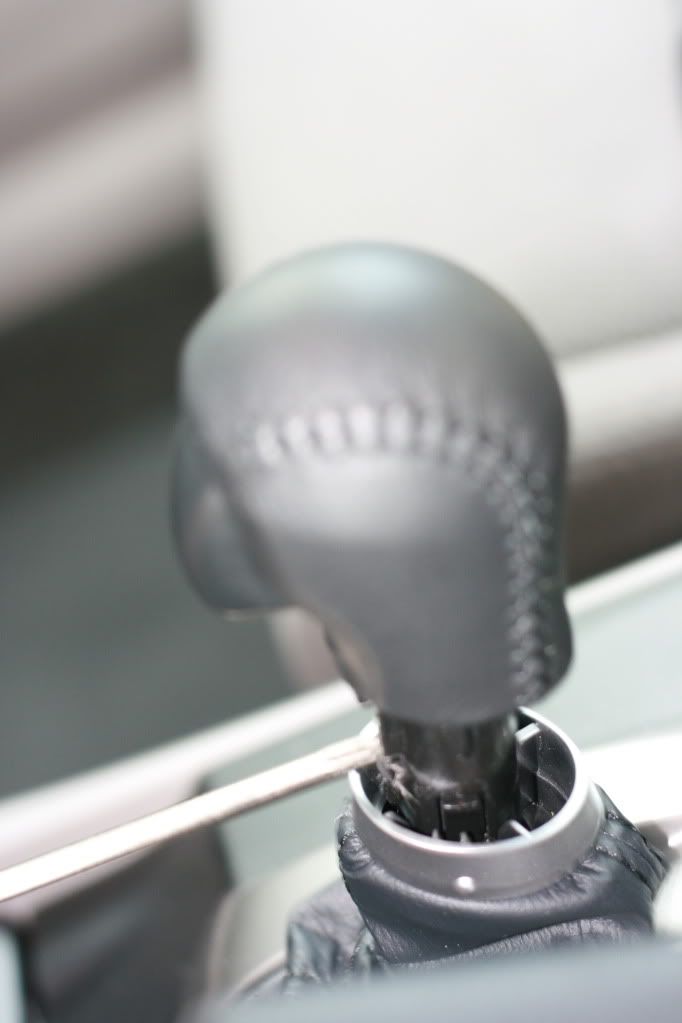
Finally, clip the plastic knob ring in to cover the top hole and slide the ring from the boot up until it clicks into place on the shift knob and enjoy!
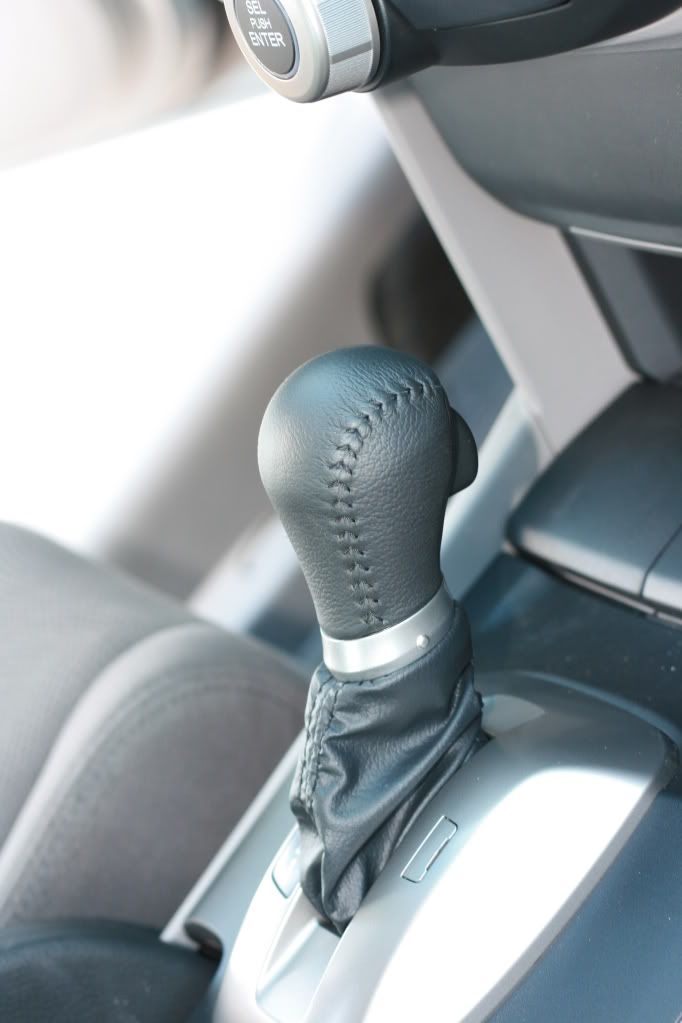
Hope this helps those interested in this modification.
Aaron
Edit: Forgot to add, this is thanks to dexterdog's will to experiment with the shift knob :thmsup: